
What You’ll Learn
- Uploading files to multiple child sites simultaneously
- Setting upload paths and destinations
- Supported file types list
- Adding support for custom file types
Extension Add-on - This add-on provides standalone functionality within MainWP Dashboard. No third-party plugins required.
The MainWP File Uploader Add-on is a simple way to upload files to your child sites from one centralized location. It gives you the ability to upload multiple files to all of your child sites simultaneously.
Upload Files to Child Sites
1
Log in to your MainWP Dashboard
2
Go to the MainWP > Add-ons > Administrative > File Uploader page
3
Click the Choose File button and upload the wanted file (alternatively, drag&drop files to the marked area)
Click the Choose File button and upload the wanted file (alternatively, drag&drop files to the marked area) 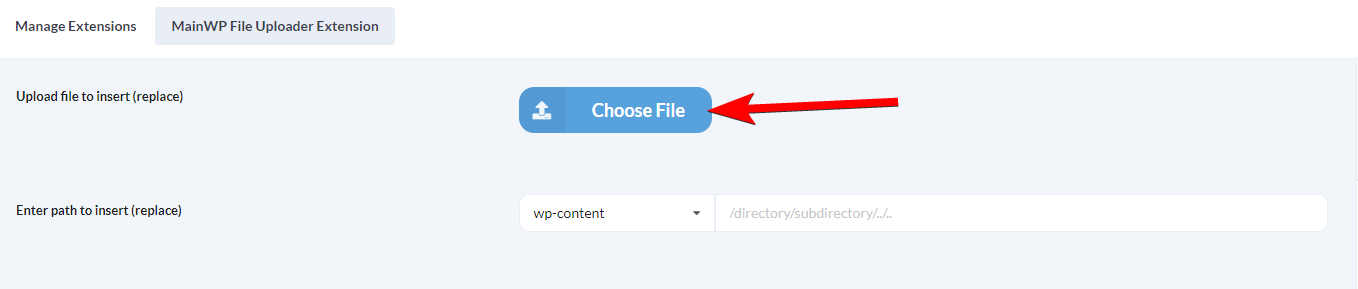
4
Set the upload path
Set the path where you want to upload your file(s).NOTE: If a directory does not exist on the child site, it will be created.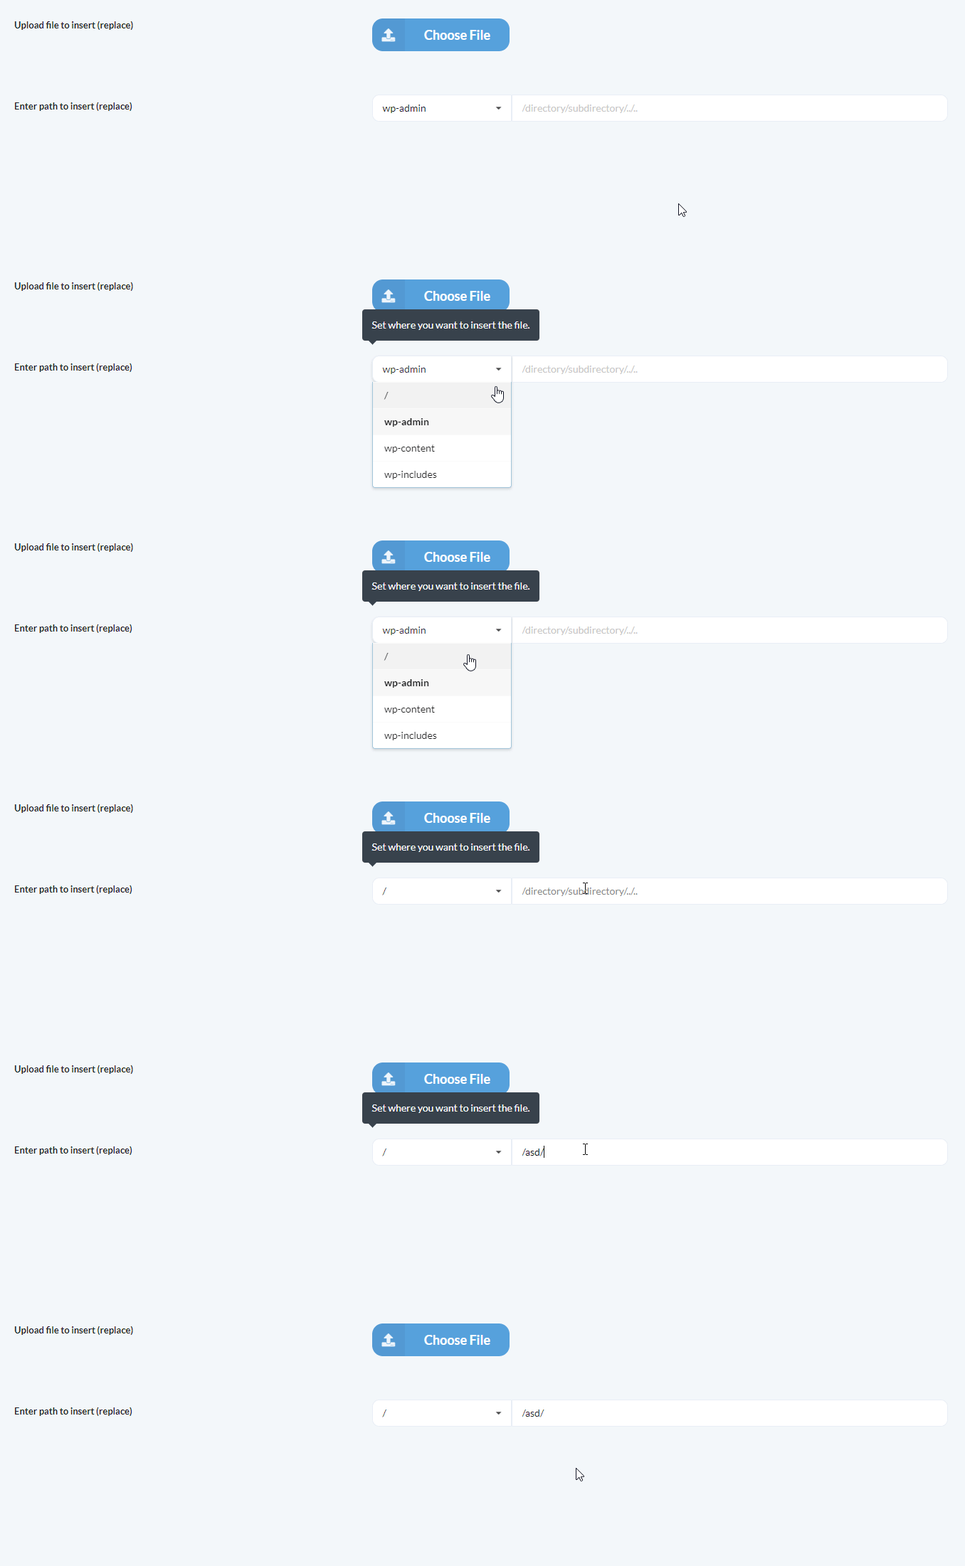
5
Select where you want to upload the file(s)
Select websites, tags, or clients where you want to upload file(s)
6
Click the Upload File button
Supported File Types
- .php
- .css
- .xml
- .js
- .txt
- .zip
- .rar
- .ico
- .html
- .po
- .mo
- .dat
- .jpg
- .jpeg
- .png
- .bmp
- .gif
- .doc, .docx
- .ppt, .pptx, .pps, .ppsx
- .odt
- .xls, .xlsx
- .mp3
- .m4a
- .ogg
- .wav
- .mp4, .m4v
- .mov
- .wmv
- .avi
- .mpg
- .ogv
- .3gp
- .3g2
Add Support for a Custom File Type in File Uploader
By default, the MainWP File Uploader Add-on doesn’t support all file types. By using themainwp_file_uploader_allowed_file_types filter, it is possible to add support for any file type. In this example, we will show how to add support for the JSON file type:
1
Install and activate the MainWP Custom Dashboard Add-on
Install and activate the MainWP Custom Dashboard Add-on
2
Go to the PHP section (MainWP > Add-ons > Administrative > Custom Dashboard > PHP)
3
Paste the following code snippet and Save Changes
Related Resources
- Development Add-ons - Browse all development tools
- Custom Dashboard Extension - Add custom snippets
- System Requirements - PHP configuration settings