
What You’ll Learn
- Installing and configuring the Lighthouse add-on
- Running performance audits on child sites
- Getting your Google PageSpeed Insights API key
- Understanding Lighthouse scores and reports
Install and Set Up MainWP Lighthouse Add-on
Go to your MainWP Dashboard
Go to Add-ons > Manage Add-ons
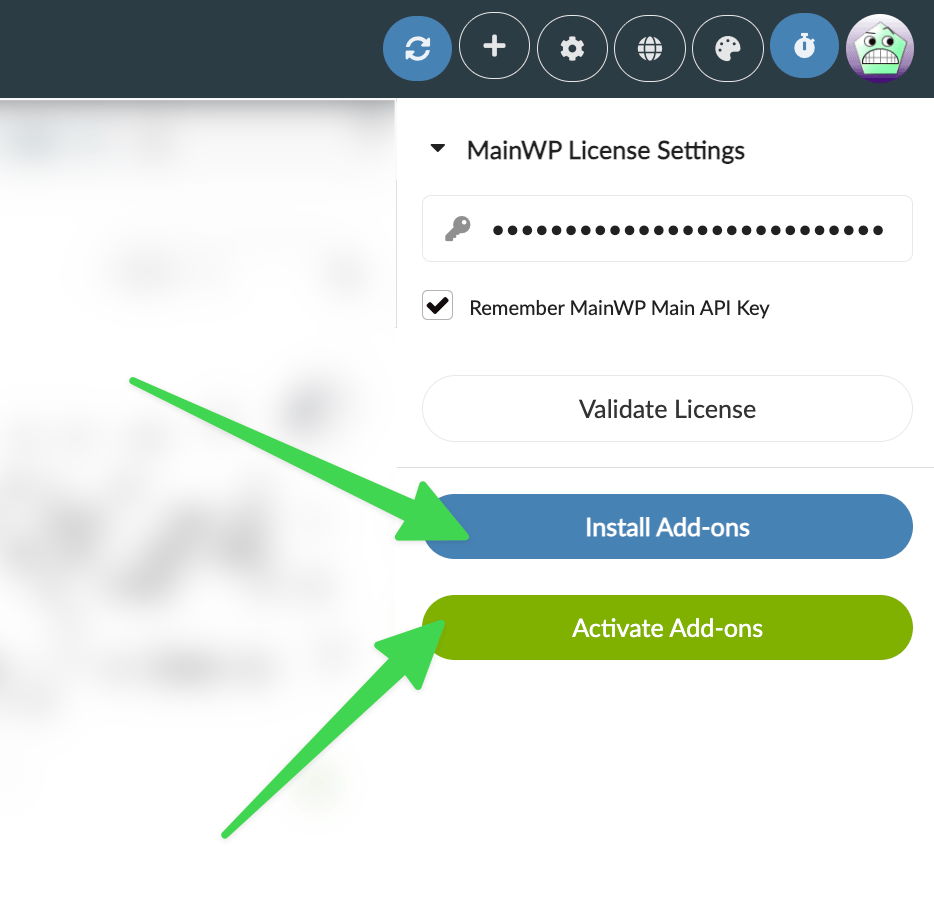
Click the Install Add-ons button
Locate the Lighthouse add-on and select it
Click the Install button
Once the installation process is complete, click the Activate Add-ons button
- After successful installation, go to Add-ons > Monitoring > Lighthouse > Settings.
-
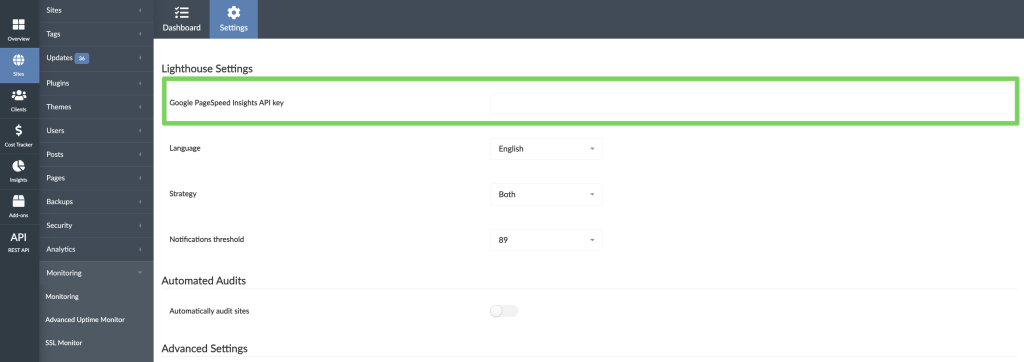
Insert your Google PageSpeed Insights API key. If you don’t have it, see here how to get it.
- Save Settings, and you are ready to audit your sites.
Audit Child Sites
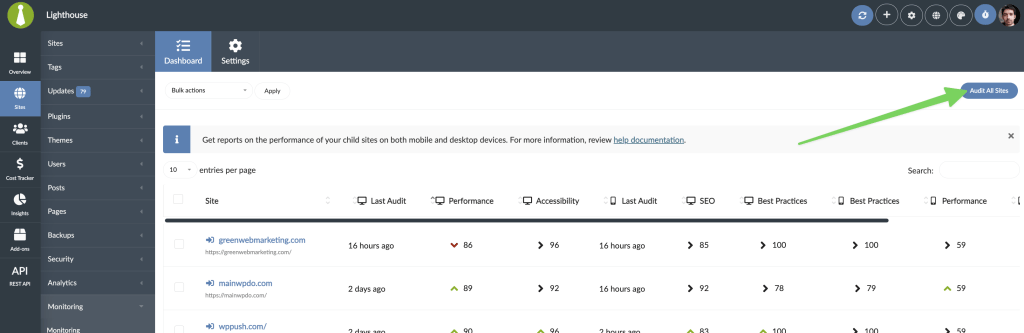
Go to Add-ons > Monitoring > Lighthouse > Dashboard
Locate the Audit All Sites button
Click it, and wait until the add-on completes the process.
Schedule Automated Audits
Go to Add-ons > Monitoring > Lighthouse > Settings
Locate the Automatically audit sites option and Enable it.

Locate the Automated audit frequency option and set how often you want to check your sites.

Save Settings.
Get a Lighthouse Report for a Site
Go to Add-ons > Monitoring > Lighthouse > Dashboard
Locate the site and click the Lighthouse Report action from the Actions Menu
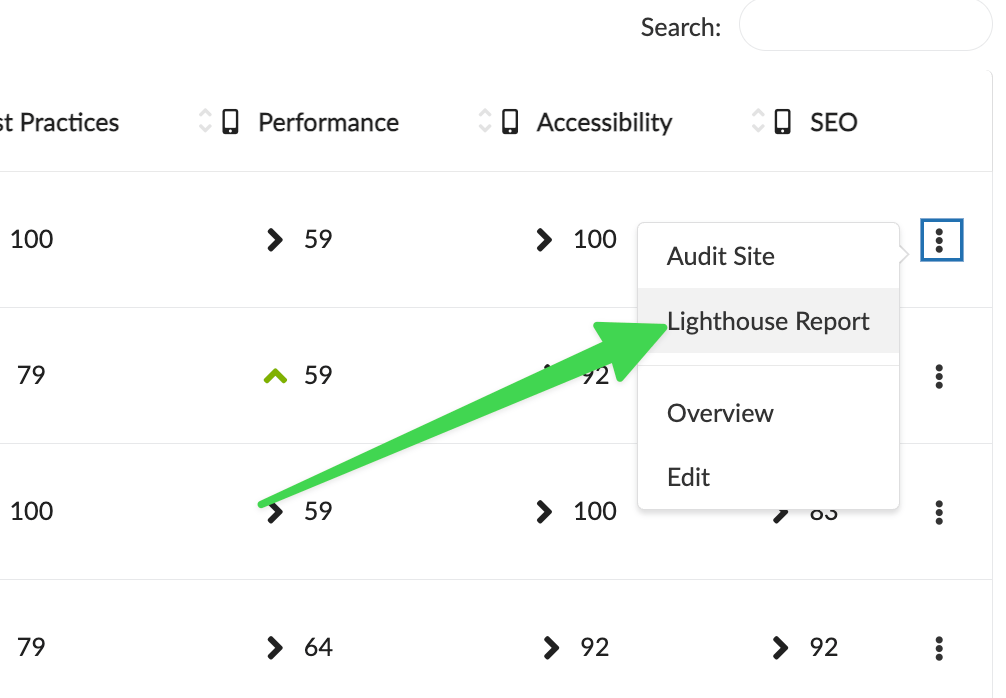
Once redirected to the report page, you can review all details
Widgets and Manage Sites Table Information
You can enable Performance Score columns (Desktop and Mobile) for the Manage Sites table from the Page Settings menu.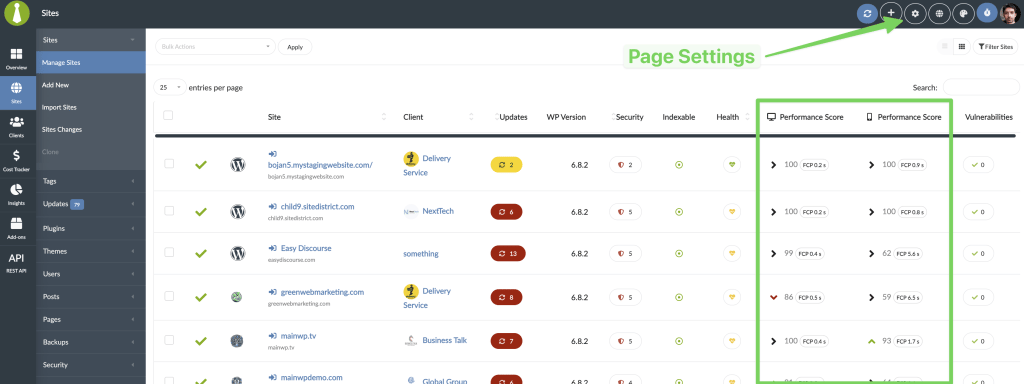
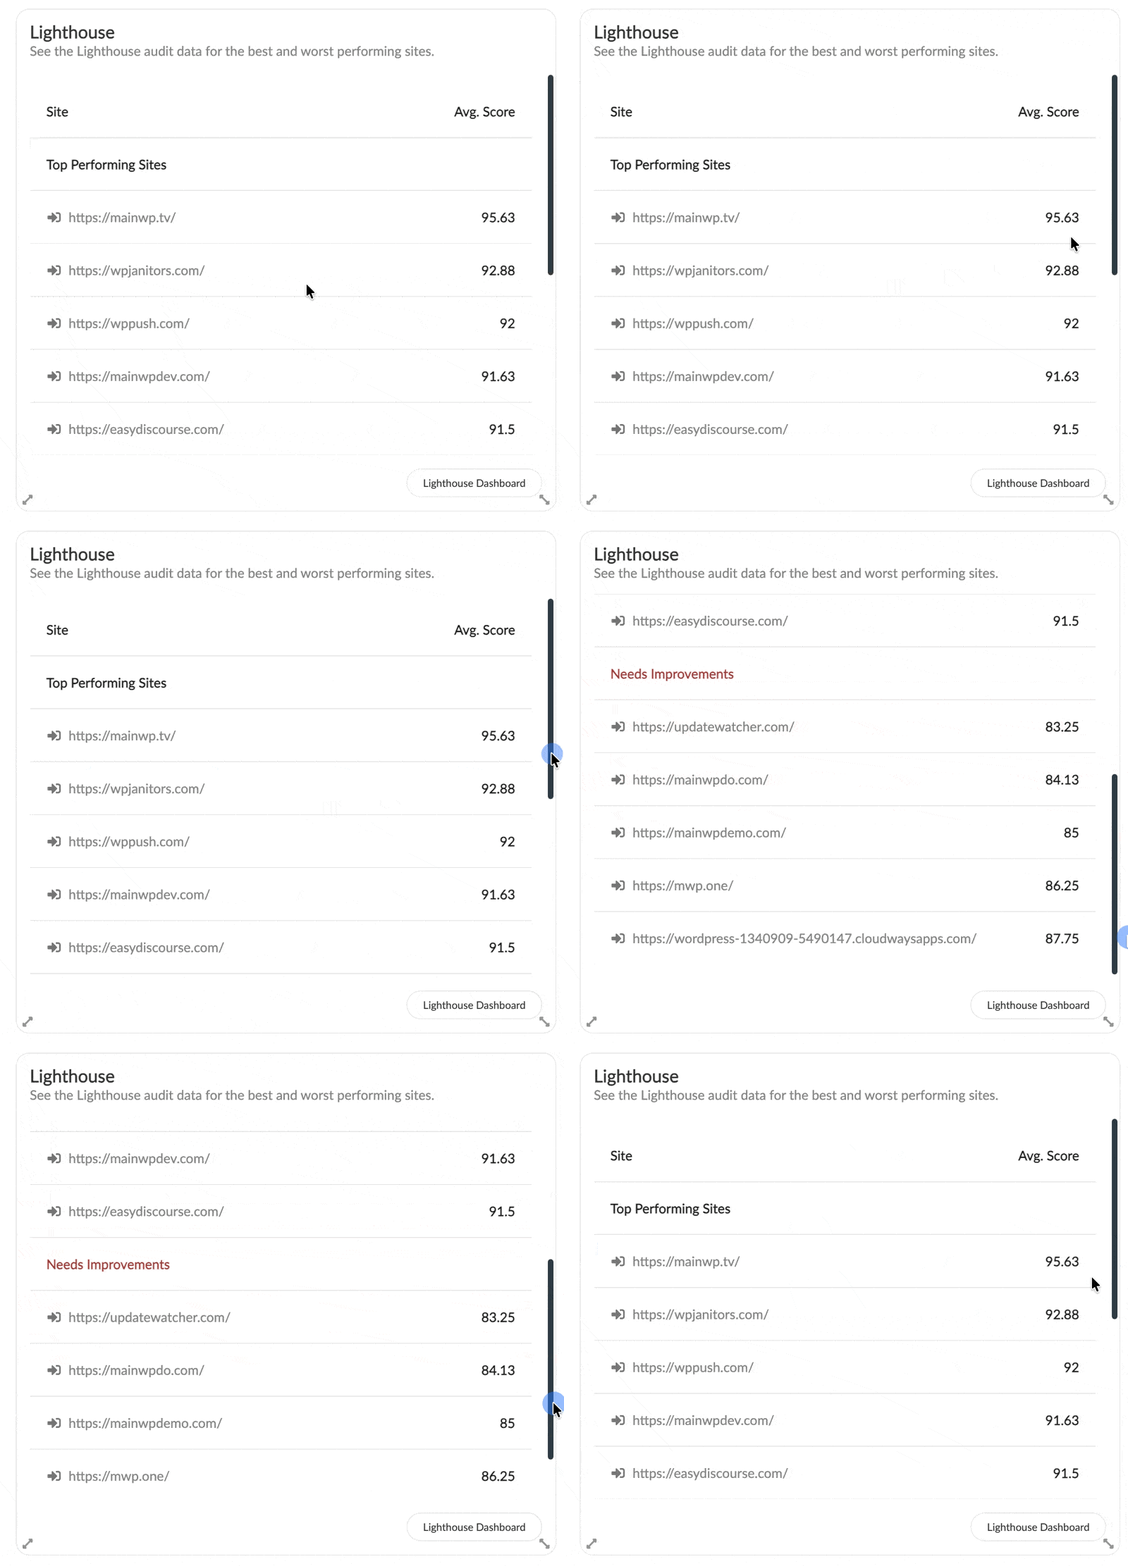
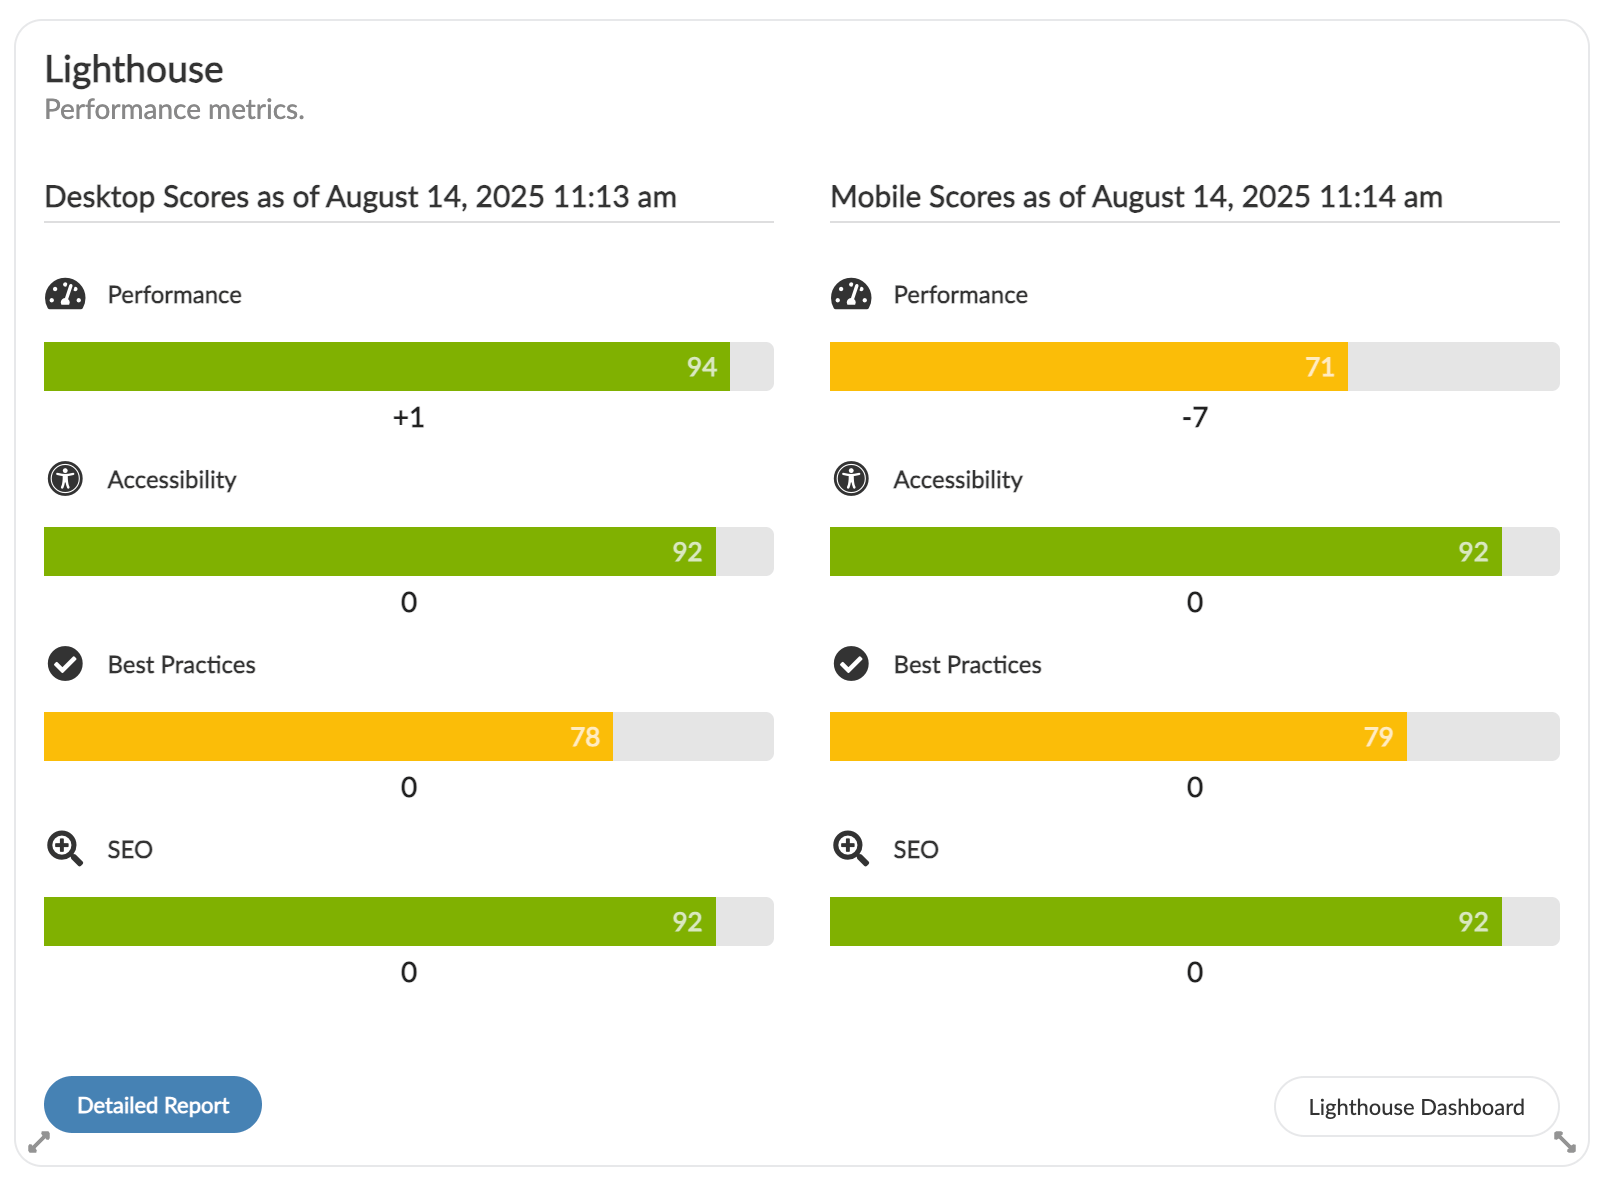
Lighthouse Settings
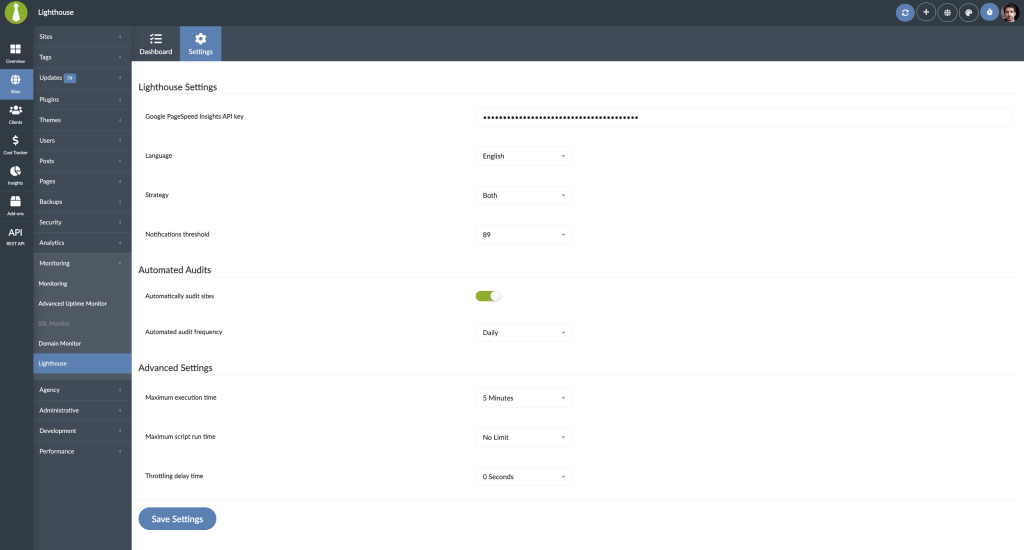
- Google PageSpeed Insights API key - In order to run audits, you need to enter your Google PageSpeed Insights API key, if you don’t have it, see here how to get it.
- Language - Select language for Lighthouse reports.
- Strategy - Select if you want to get Desktop, Mobile, or Both strategy Lighthouse reports.
- Notifications threshold - Set the threshold for notifications. If any tracked Lighthouse score is at or below the set value, the add-on can send a Lighthouse notification.
- Automatically audit sites - If you want the add-on to automatically run audits, enable this feature.
- Automated audit frequency - If automated audits are enabled, here you can set how often you want them to run.
- Maximum execution time - Change the Max execution time if needed. If the Lighthouse reports are not being completed, increasing this value may help.
- Maximum script run time - Change the Max script run time if needed. If your scans do not finish completely and changing the Maximum Execution Time does not help, increase this value until you find the maximum allowed runtime.
- Throttling delay time - Change the Throttling delay time. Increasing this value may slow down Lighthouse reporting, but may help provide more accurate reports on poorly performing web servers.
Audit Sites via WP-CLI
Scan one or multiple sites:Lighthouse REST API
All MainWP REST API calls, including full documentation, and examples, are now publicly available on Postman. For legacy REST API v1 requests, usePOST for /wp-json/mainwp/v1/lighthouse/audit. The endpoint no longer accepts GET requests.
Please refer to our REST API documentation for more details on enabling REST API and managing API keys.
Get the Google PageSpeed Insights API Key
Log into your Google account.
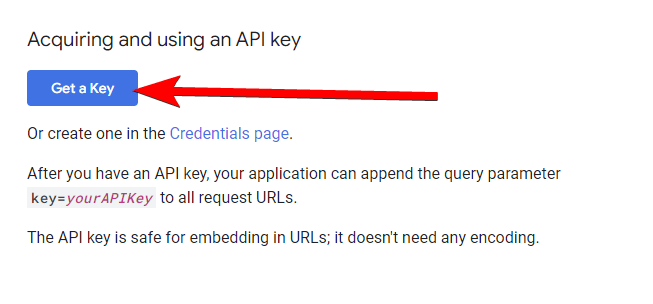
Navigate to https://developers.google.com/speed/docs/insights/v5/get-started and click Get a Key button
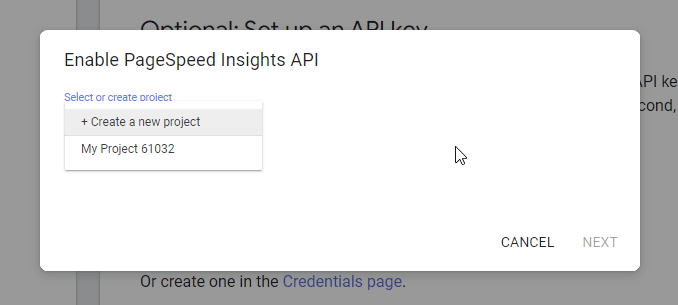
Select existing or Create a new project and click Next
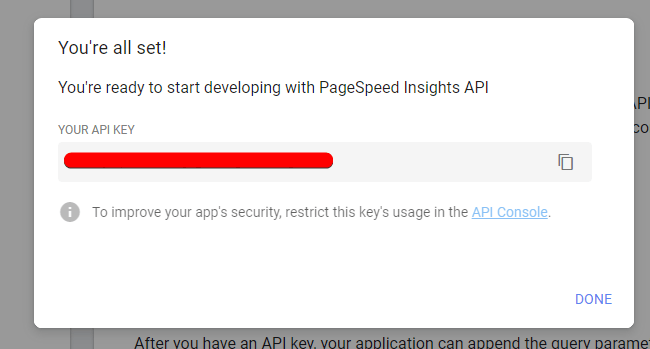
Copy API Key to clipboard and click Done
Paste the Key to the add-on Settings.
Related Resources
- Monitoring Add-ons - Browse all monitoring tools
- Cache Control - Performance optimization
- WP Rocket Extension - Advanced caching tools