
← Part 1: MainWP Introduction
Part 3: MainWP User Interface →
MainWP requires two components:
- MainWP Dashboard - Install on a dedicated WordPress site that controls all other sites
- MainWP Child - Install on each WordPress site you want to manage
Prerequisites
Before starting, confirm you have:- A dedicated WordPress site for the MainWP Dashboard (not an existing production site)
- Administrator access to the Dashboard site
- Administrator access to each child site you want to manage
- MainWP Child plugin ready to install on child sites
Install MainWP Dashboard
1
Open the Plugins page
Go to WP Admin > Plugins on your WordPress site dedicated to hosting MainWP Dashboard.
2
Add new plugin
Click Add New.
3
Search for MainWP
Enter “MainWP” in the search field and press Enter.
4
Install the plugin
Find MainWP Dashboard in the results and click Install Now.
5
Activate
Click Activate once installation completes.
Manual Installation
1
Download
Download the MainWP Dashboard plugin.
2
Extract
If downloaded as a zip, extract the plugin folder.
3
Upload via FTP
Upload the plugin folder to
wp-content/plugins/ on your Dashboard site.4
Activate
Go to WP Admin > Plugins and activate MainWP Dashboard.
Quick Setup Wizard
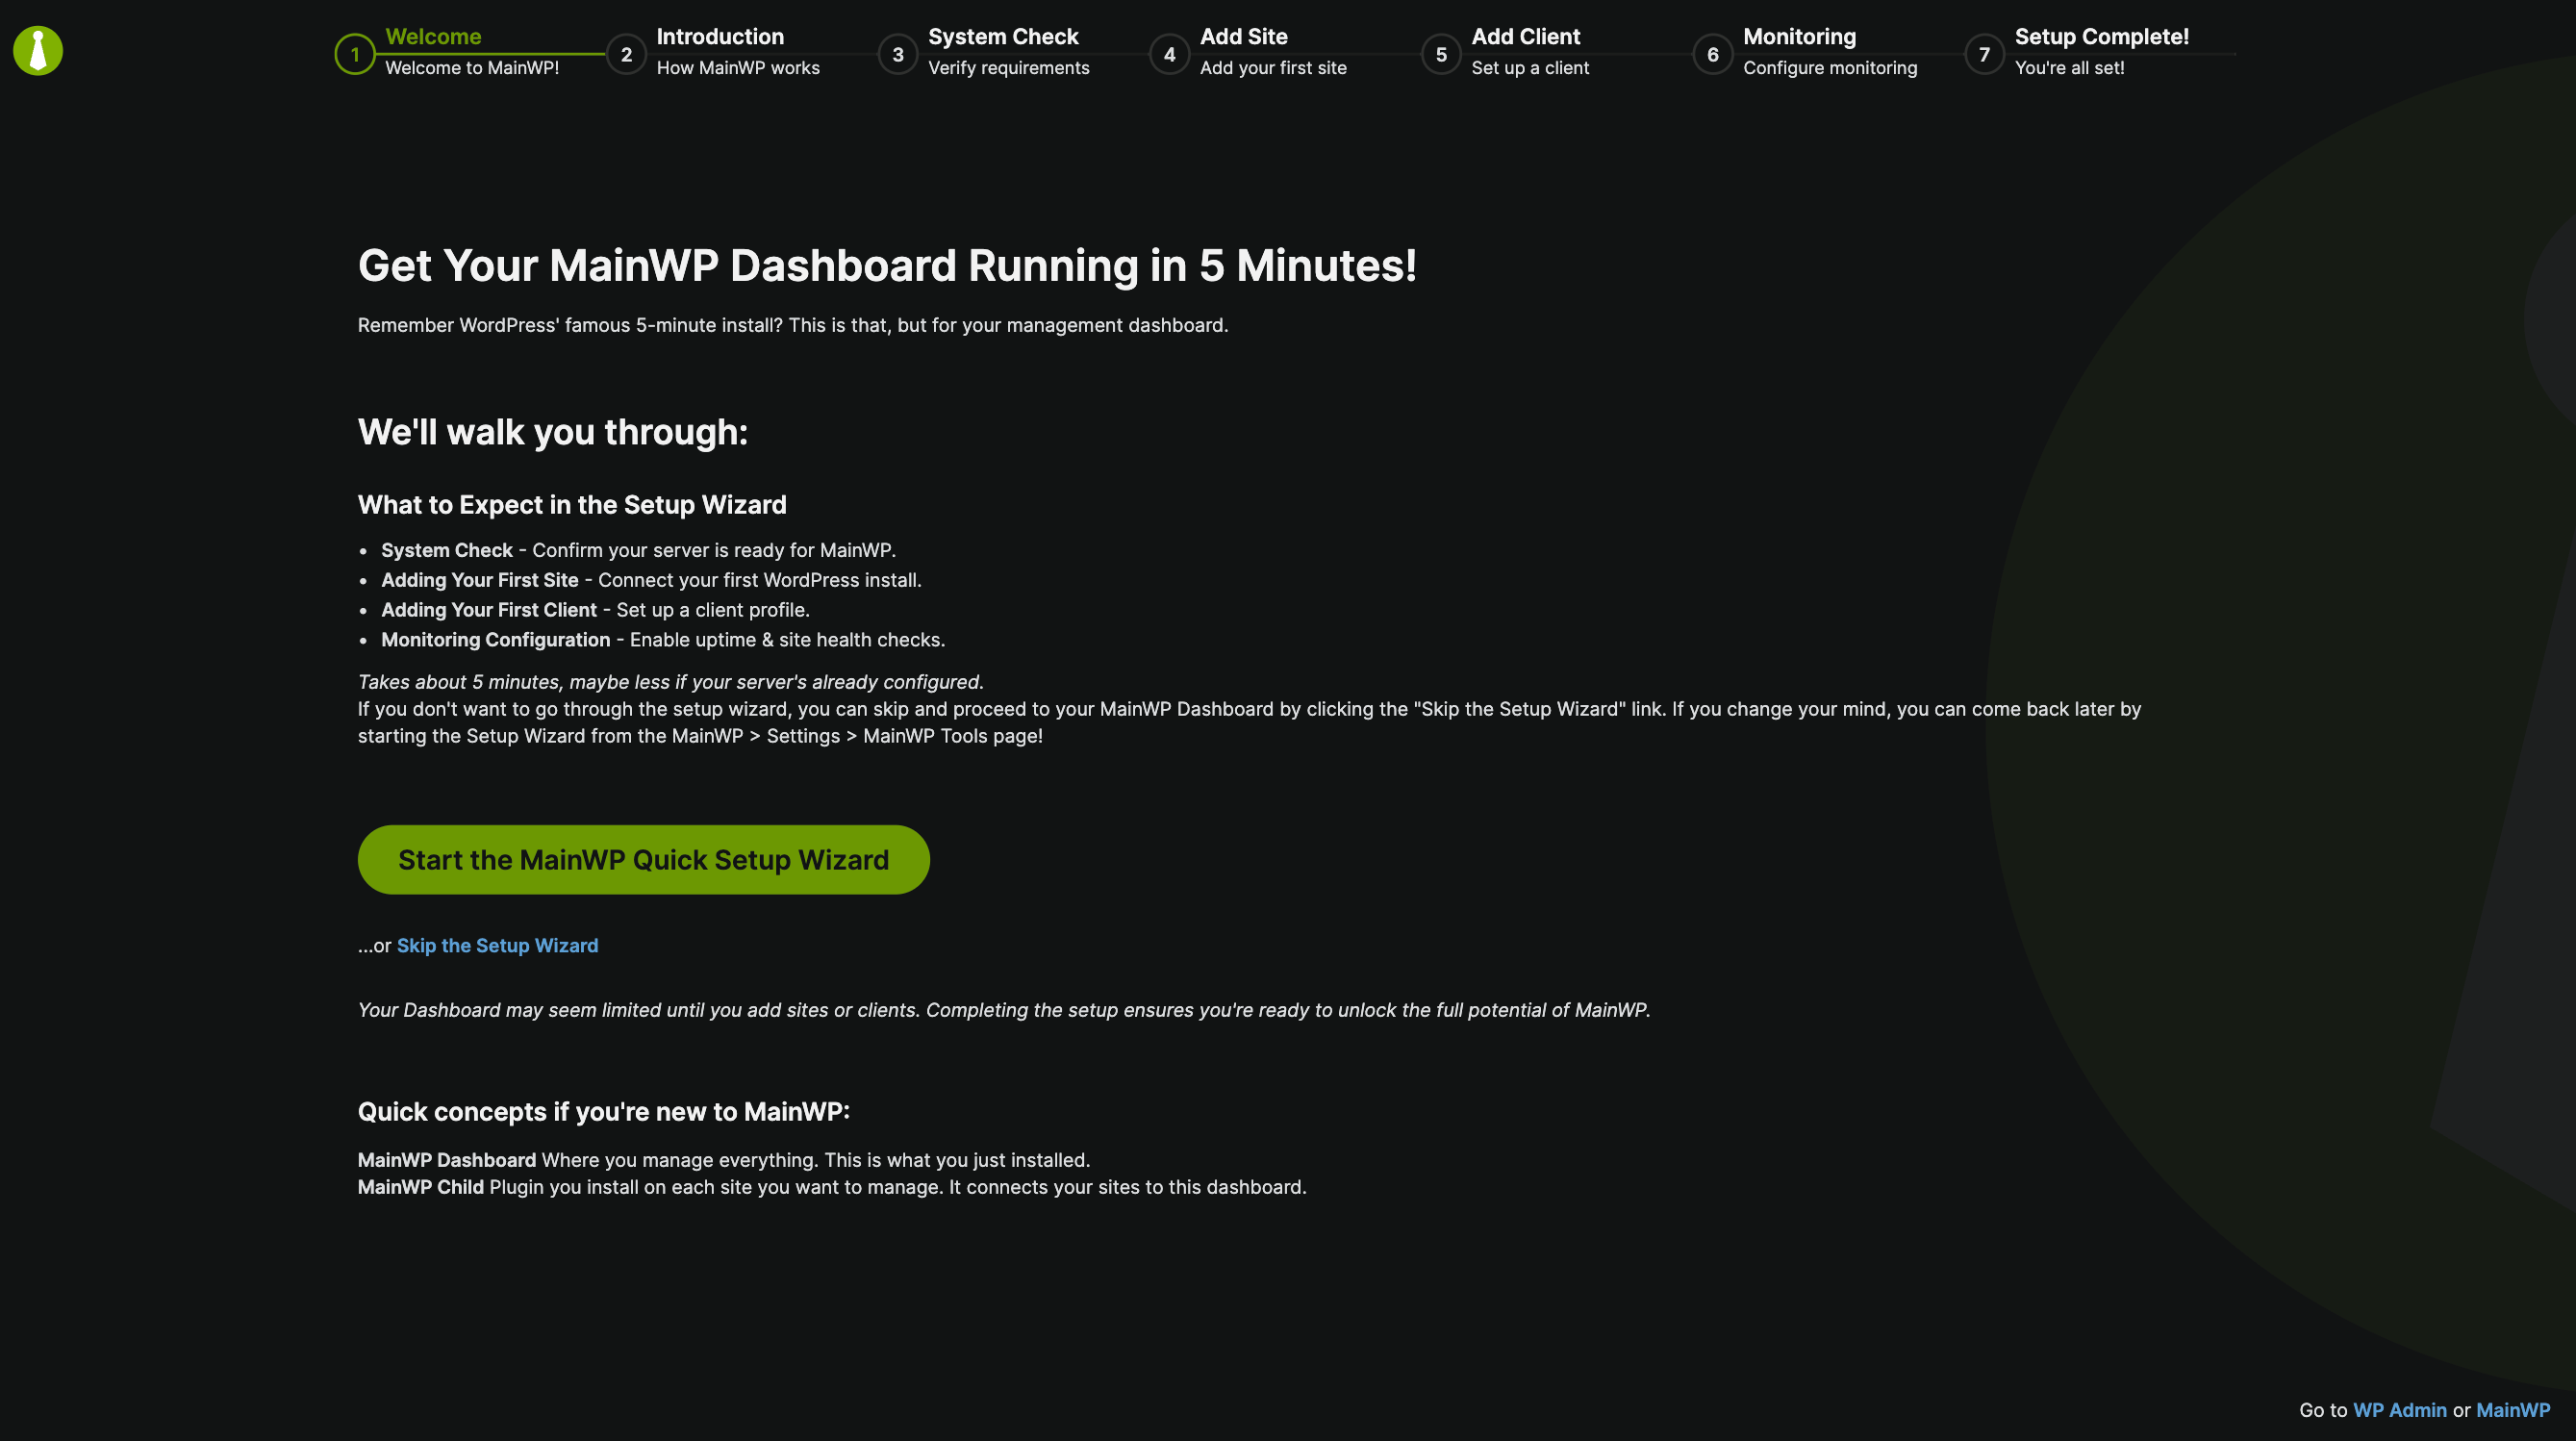
The Quick Setup Wizard launches after a new MainWP Dashboard installation. It guides you through this sequence:
- Welcome
- Introduction
- System Check
- Add Site
- Add Client
- Monitoring
- Setup Complete
Welcome
Introduction
The Introduction step includes a MainWP Guided Tours option (enabled by default). Click Let’s Go! to continue.System Check
MainWP verifies server requirements needed to connect Child sites. If any checks fail, resolve the issues before continuing.Add Site
Choose whether to connect a single site or multiple sites.- Single Site
- Multiple Sites
- Select Single Site
- Enter the site URL and administrator username
- Configure authentication:
- Administrator password - Default connection method. Enter the child site’s administrator password when Require Password Authentication is enabled.
- Unique Security ID - Enter the Security ID when Require Unique Security ID is enabled.
- Optionally set a Site Title
- Enable Confirm that the MainWP Child plugin is activated on the site(s) you wish to connect
- Click Connect Site and Proceed
MainWP Child requires at least one connection authentication method: Require Password Authentication, Require Unique Security ID, or both. You cannot disable both methods. Authentication options can be found in MainWP Child settings:
your-child-site.com/wp-admin/options-general.php?page=mainwp_child_tabAdd Client
Create client profiles to associate with your sites. Single client: Enter Client Name (required), plus optional email, photo, and phone. Add additional contacts using Additional Contact Information. Multiple clients: Switch to the Multiple Clients tab and enter Client Name and Email for each imported site. Sites with matching client name and email are merged into a single client profile.Monitoring
Configure:- Enable Uptime Monitoring and the check interval
- Enable Site Health monitoring and the health threshold
Setup Complete
Your MainWP Dashboard is ready. Click Go to Dashboard.- Restart the wizard anytime from MainWP > Settings > Tools using Start Quick Setup Wizard
- Use Continue Without Adding Sites or Continue Without Creating Clients to skip optional steps
- Use Back to … buttons to adjust previous steps
Install MainWP Child
1
Open Plugins
Go to WP Admin > Plugins on the child site you want to add.
2
Add new plugin
Click Add New.
3
Search
Enter “MainWP” and press Enter.
4
Install
Find MainWP Child and click Install Now.
5
Activate
Click Activate.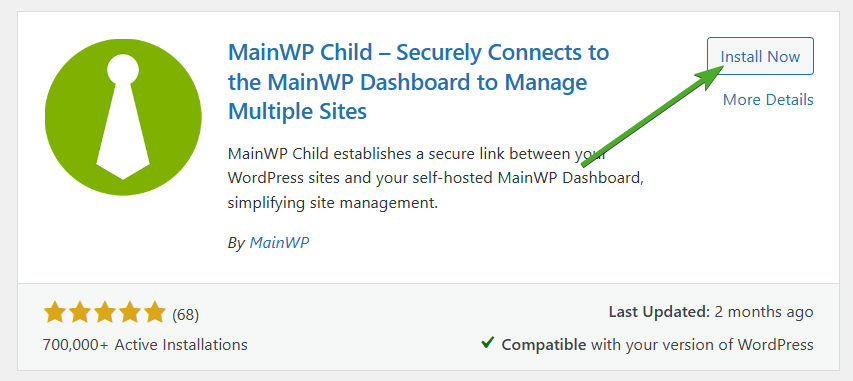
Manual Installation
1
Download
Download the MainWP Child plugin.
2
Extract
If downloaded as a zip, extract the plugin folder.
3
Upload via FTP
Upload to
wp-content/plugins/ on the child site.4
Activate
Go to WP Admin > Plugins and activate MainWP Child.
MainWP Child Plugin Settings
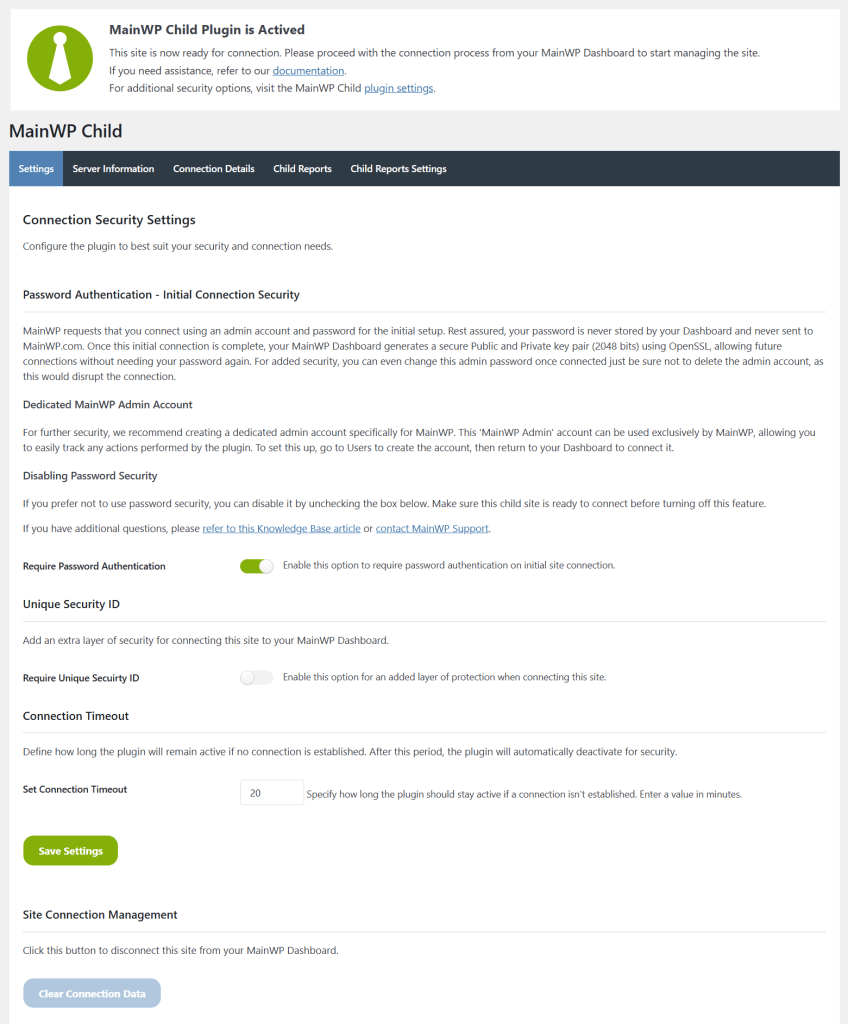
MainWP Child requires at least one of Require Password Authentication or Unique Security ID to remain enabled.
For more details, see Connection Security.
Add a Site to Your Dashboard
After installing MainWP Child, add the site to your Dashboard.1
Navigate to Add New
Log into your Dashboard and go to MainWP > Sites > Add New.
2
Enter site URL
Enter your child site URL.
3
Verify Child plugin
Toggle Confirm the MainWP Child plugin is active on this site to reveal additional fields.
4
Enter credentials
Enter the administrator username and provide the authentication method required by MainWP Child settings:
- Administrator password - Required when Require Password Authentication is enabled
- Unique Security ID - Required when Require Unique Security ID is enabled
5
Add optional settings
6
Connect
Click Add Site.
Add-ons Settings Synchronization
When supported MainWP Add-ons are installed, the Add New Site form can show synchronization options:- Install a required third-party plugin on the child site
- Apply the add-on plugin settings (or global add-on options) during site connection
If you experience connection issues:
- Use Test Connection to verify Dashboard can communicate with the site
- Check Potential Issues for solutions
- Submit a support ticket if needed
Test Connection
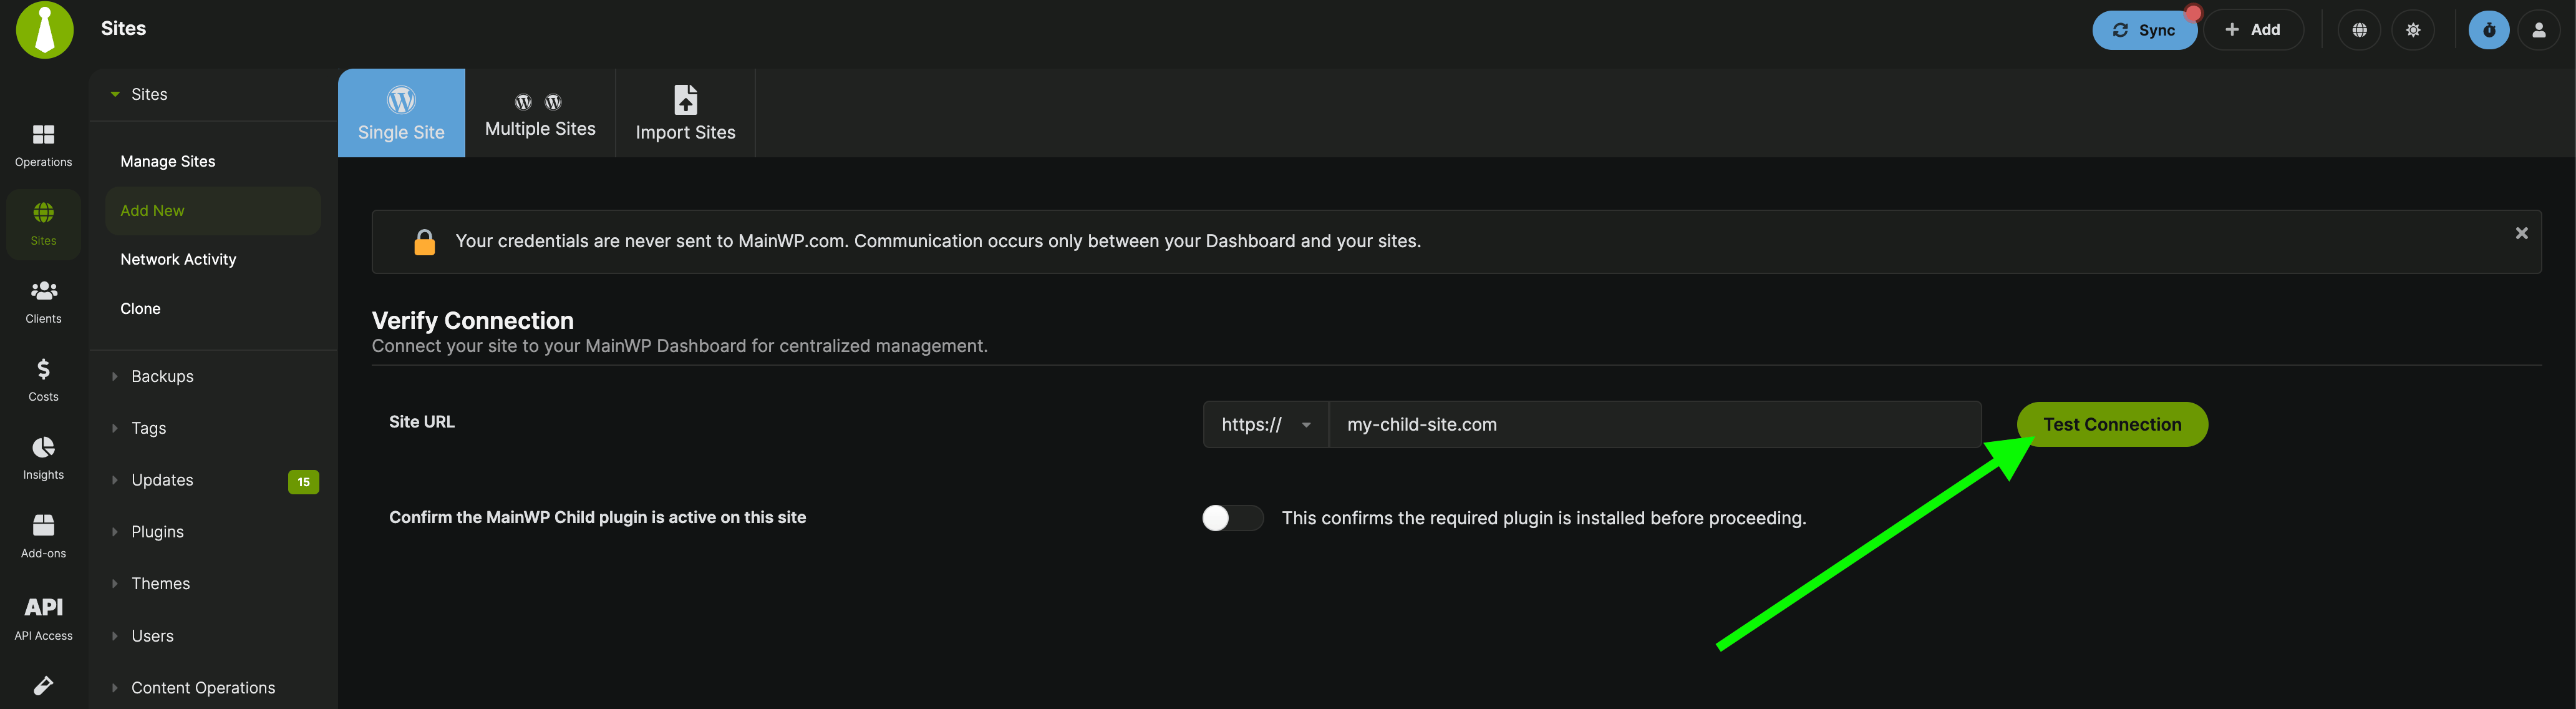
Test Connection verifies what your MainWP Dashboard can reach, which may differ from what your browser sees.1
Open Add New
Go to MainWP > Sites > Add New.
2
Enter URL
Enter your child site URL.
3
Test
Click Test Connection.
Completion Checklist
Verify your setup is complete:- MainWP Dashboard installed and activated on dedicated site
- Quick Setup Wizard completed (or skipped intentionally)
- MainWP Child installed on at least one child site
- Child site connected successfully (shows in MainWP > Sites > Manage Sites)
- Test Connection returns HTTP 200 status